
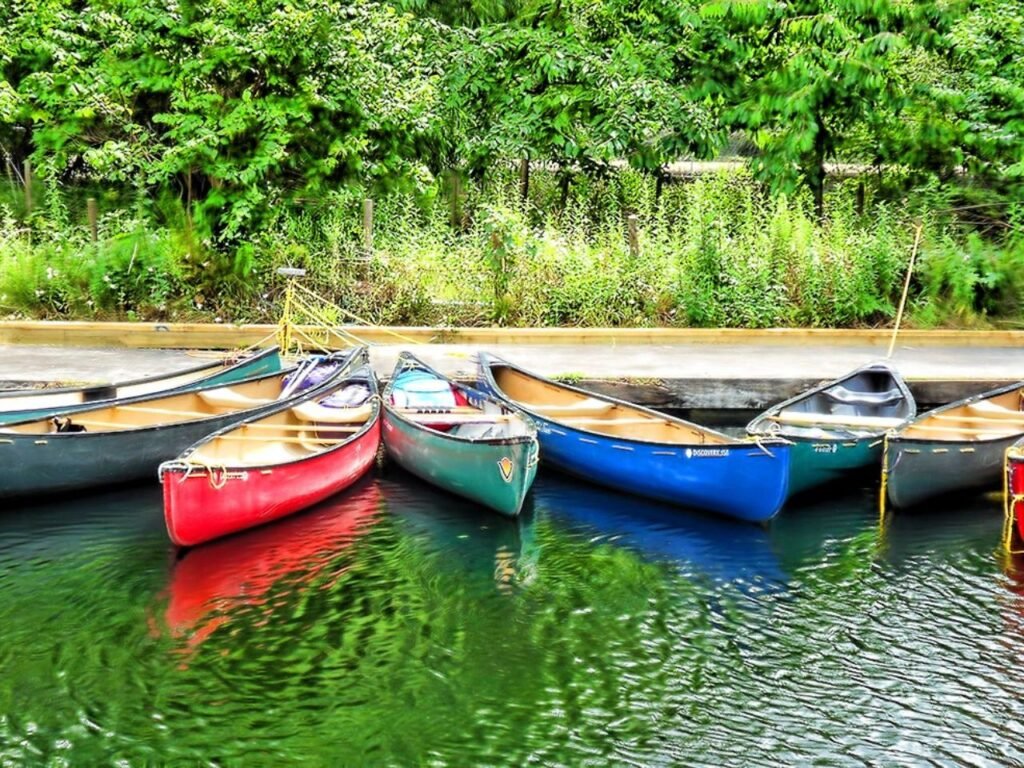
Attempting to pick a “best” paint for a canoe initially needs to consider two very important factors: the first one being what kind of canoe you are painting, that being, a wooden one, plastic, or aluminum. At the same time, it might be easy to convince yourself that there is no real discernible difference. The surface you paint on requires specific paints to adhere properly, and you should emphasize visibility for your own safety.
What Type of Paint Should You Use for a Canoe?
In most situations, the specific color you lean towards doesn’t have much bearing on your canoe’s overall aesthetic. Still, depending on the weather in your area, boat traffic, and distance from civilization, you might be better suited to taking a high-vis yellow or red than a matte brown to maximize your chances of being seen in an emergency.
Beyond safety concerns, the best paints not only stick to the canoe smoothly during application but can even form a barrier protecting your boat from potential damage from the elements, sun exposure, or even instances where your steering could have been better, preventing highly noticeable dings and scrapes.
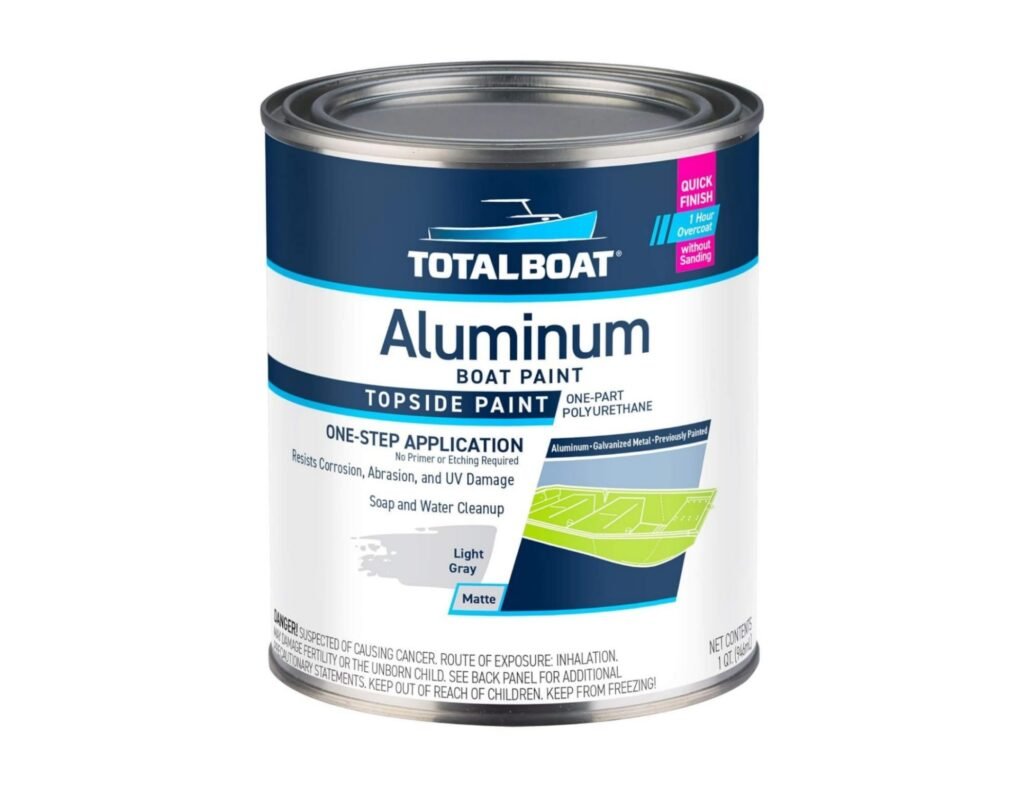
1. TotalBoat Aluminum Boat Paint
Keeping things smooth and linear, we’ll start with something as blatantly obvious as it is satisfying to use. TotalBoat Aluminum is a paint made for just that, aluminum Boats. Thankfully enough, this also includes canoes.
As for pricing, TotalBoat knows its customers and believes an affordable product will sell itself. So, you won’t need to take out a loan to paint your boat, and if need be, purchase several cans.
The paint comes in six readily available colors. This spans from the following:
- Army green
- Black
- White
- Earth brown
- Khaki
- Light gray.
However, the biggest claim to fame this paint brand offers is additional protection against ambient fading, dings from collisions, corrosion, or exposure to certain chemicals.
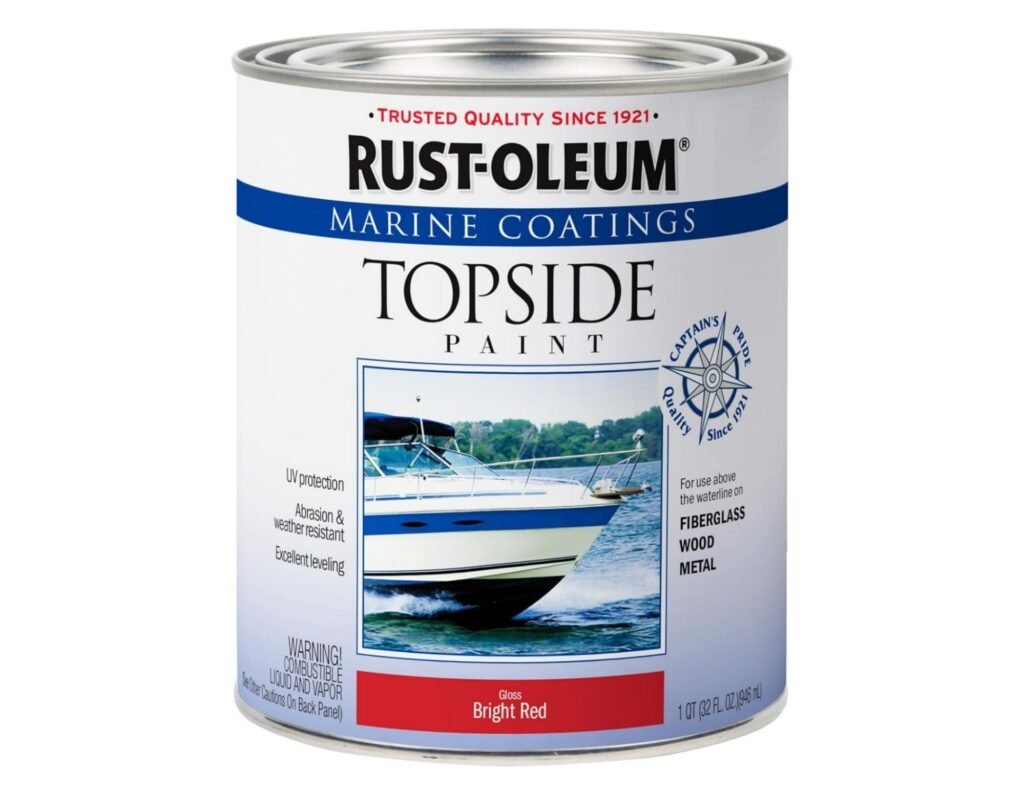
2. Rust-Oleum 207004 Marine Coatings Topside Paint
Everyone loves a good two for one deal, and while the paint itself is not on a buy one get one free sale, Rust-Oleum’s Marine Coatings Topside paint is versatile in that it can be used on both fiberglass, and wood based canoes, giving you a greater range of flexibility when shopping, and bolsters an extremely fast drying speed (perfect for those last minute touch ups!)
Once the paint has dried, you can expect a very sleek finish. Still, more to the point, this paint offers the same protection you’d expect from other brands, covering everything from your normal wear and tear to even the most challenging weather conditions. Just be sure that you are personally prepared to endure them.
Rust-Oleum is also incredibly affordable, comes in a myriad of colors to choose from, and offers the added benefit of being usable in an on-the-go setting, provided your painting area has sufficient ventilation, as it dries quickly.
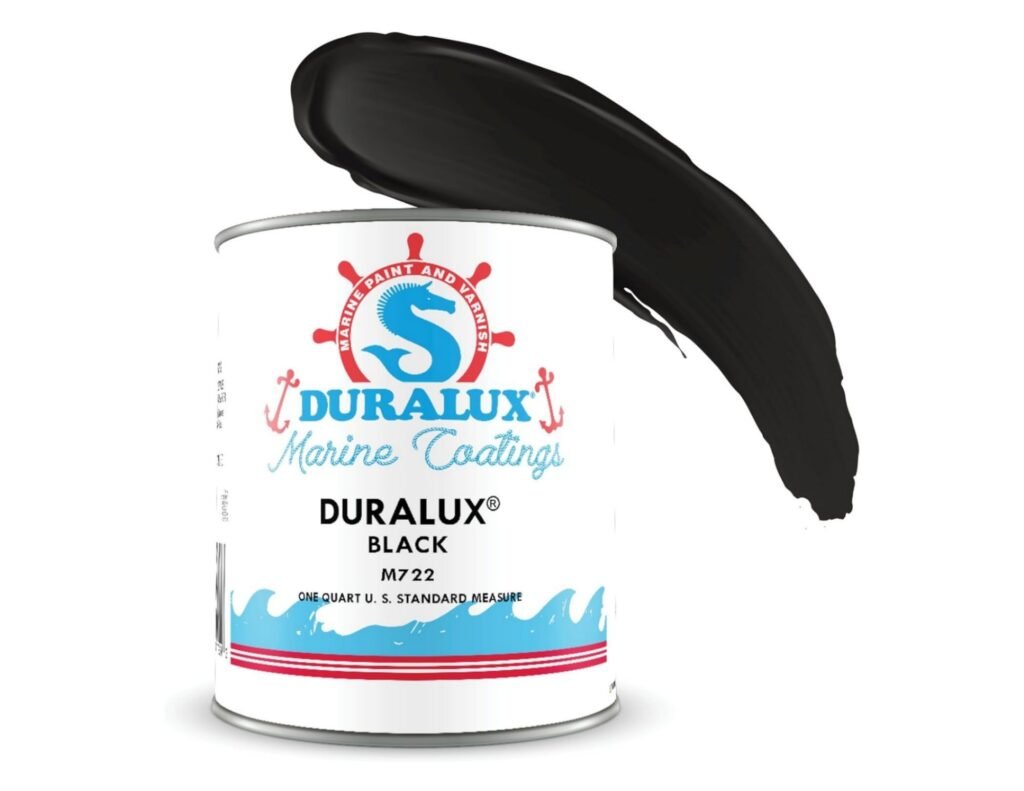
3. Duralux Camouflage Paint – Duckboat Drab
As its name suggests, Duralux delivers a luxurious finish for your boat that works on all types of boats. That’s right, everything from metal to wood, and even fiberglass, can be safely coated with this phenomenal paint, and better yet, you’ll only need two thin coats to cover your boat completely.
Variety being the spice of life is a mantra that Duralux takes to heart, offering fourteen different color options, ranging from a very serious gray to a vibrant yellow, letting you pick between style and safety, without sacrificing a finish that is dependable and durable, enduring the roughest scrapes or being used in salty waters, strong washes, or even gasoline should an accident occur.
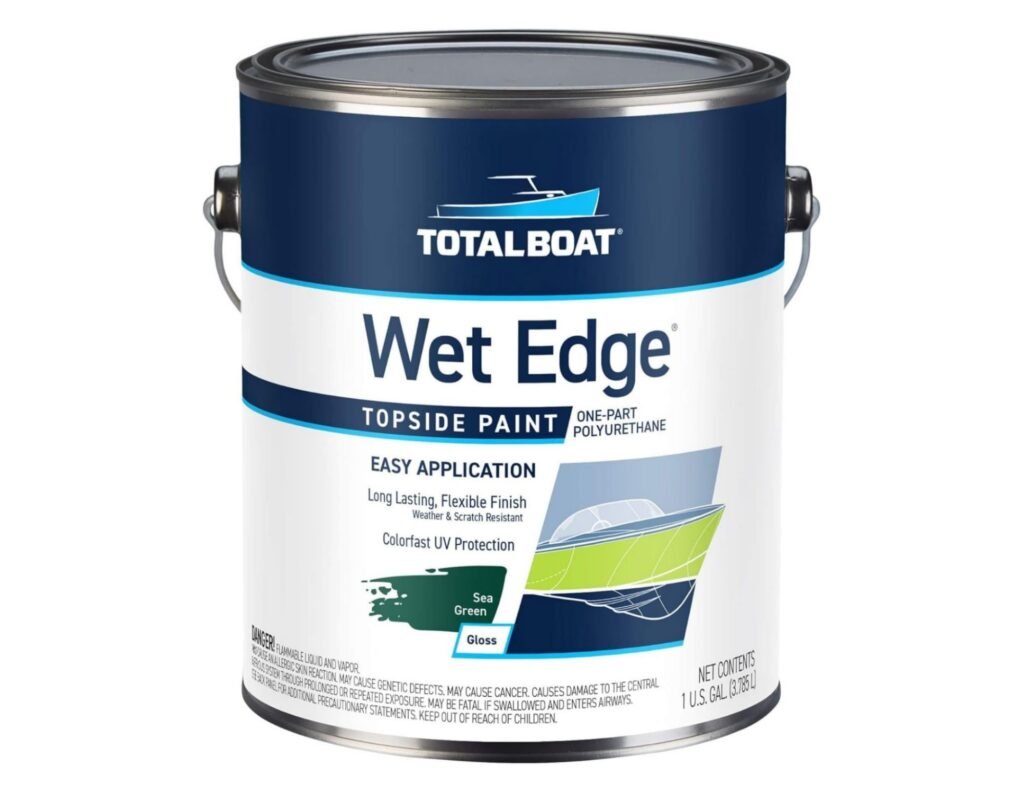
4. TotalBoat Wet Edge Topside Marine Paint
Yet another hybrid contender making its way onto the scene, TotalBoat Wet Edge, seeks to take its edge to the next level with an extremely durable paint that bolsters chip, crack, scratch, and fade resistance, while also remaining entirely UV- and weather-resistant. Still, as you might expect, high quality does come with a slightly higher price than other brands, but you also get access to 21 different colors to choose from for that investment.
Because of the price bracket itself, you could work with the understanding that TotalBoat’s Wet Edge is more in line with an experienced painter’s hand than that of a novice, as mistakes can prove costly, but it does have another feather in its cap, with Self-Leveling qualities, you will have a bit of leeway when mistakes do occur, the paint itself works well on plastic, metal and wood frames.
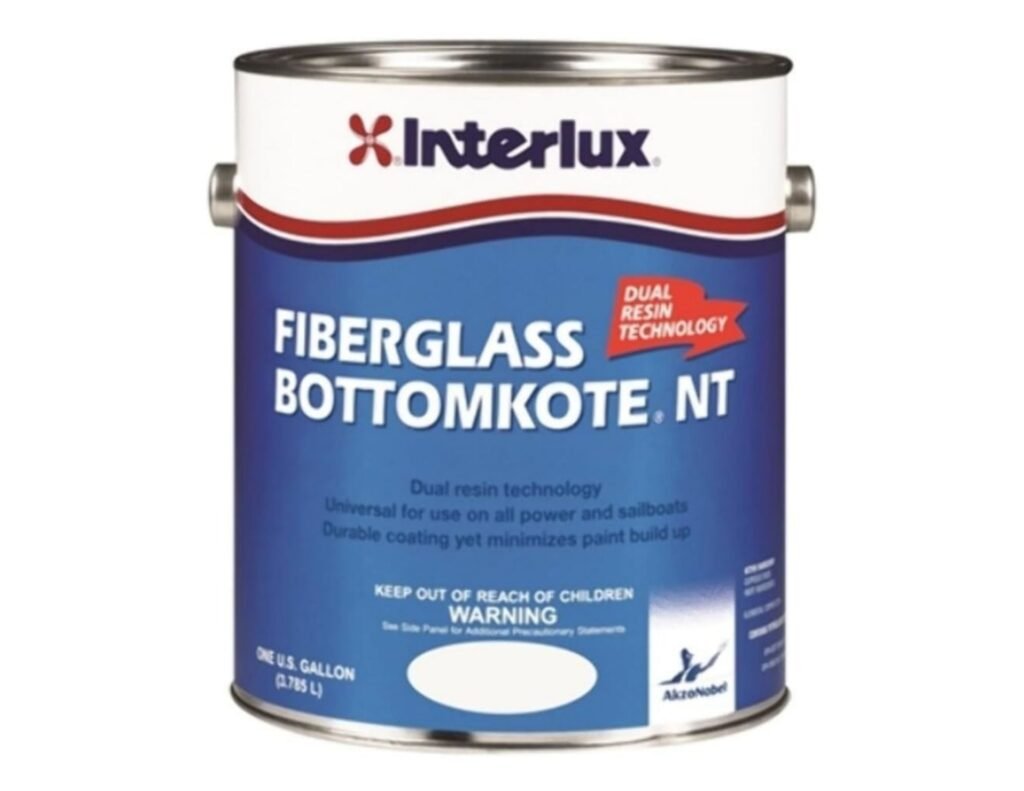
5. Interlux YBB379/1 Fiberglass Bottomkote NT Antifouling Paint
Interlux is an old-timer in the painting world, having been in business for over 140 years. You can come to expect quality paint from a brand lasting that long in the industry, and that kind of dedication should reassure you in what you are getting, and that investment will net you a flawless paint choice for your fiberglass canoeing needs.
It wouldn’t be a stretch to say that Interlux is yet another professional-level paint, and while not wasted on amateurs or first-timers, you’d want to use a careful hand when applying it to prevent loss.
At the end of the day, you’ll be looking at a solid paint job that will help evenly disperse itself as you go, actively combating heavy paint build-up, and get the same generalized protection you’d expect of almost any other paint brand as far as scratches, dents, dings, and other exposure that may occur.
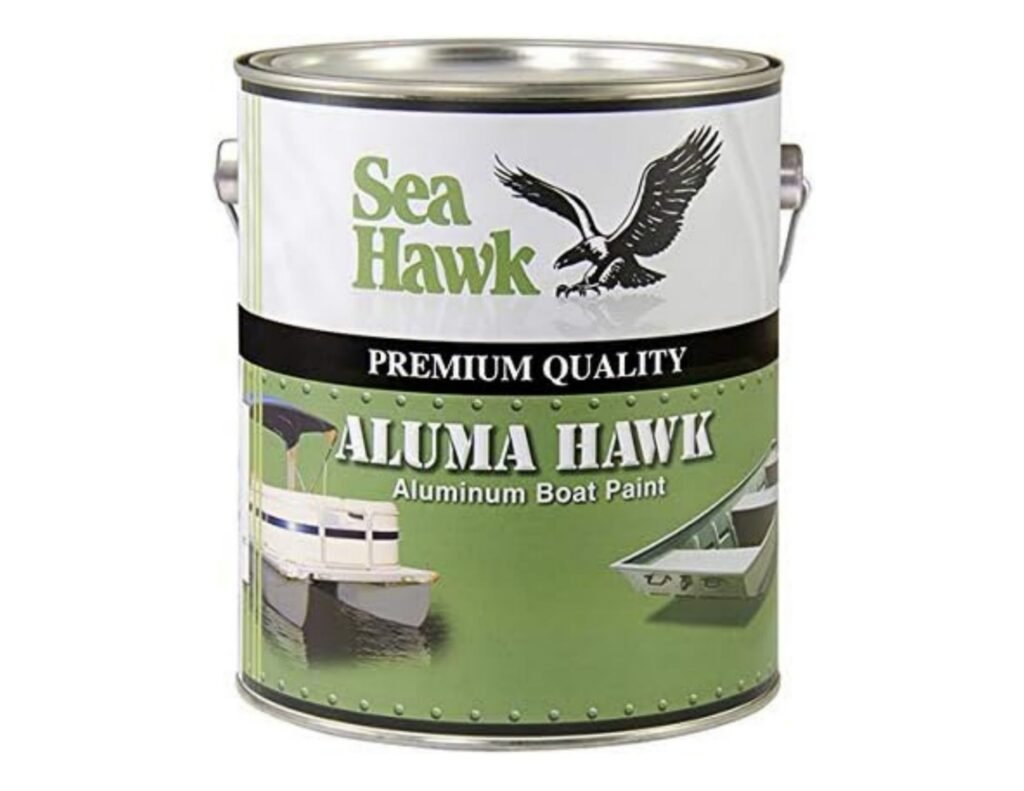
6. Aluma Hawk Aluminum Boat Paint by Sea Hawk Paints
Finally, we have Aluma Hawk, perfect for Aluminum boats, as the name might suggest. Still, the pricing might shock you, as it’s not only durable and dependable, but the paint itself is affordable too, and brings something to the table that most other paints haven’t considered up til this point: eco-friendliness.
Despite the paint being benign eco, you’ll still want to ensure you do your painting in a well-ventilated area with appropriate spill measures in place. Still, assuming you follow all protocol, the paint itself is fast-drying, highly rust-resistant, and can actively protect against wear and tear, along with fighting corrosion.
How Should You Paint a Canoe?
Painting your canoe isn’t the most difficult task to do at a base level, but like most things in life, finishing the job sufficiently, takes time, diligence, and patience, as speed comes with time, but accuracy does not, you’ll want to carve out a good day according to the weather in your area, and get your supplies ready before taking on this job.
Step 1: Prepare the Supplies
Getting yourself in line to do the job will require you to get your hands on quite a few tools and safety precautions, everything from your basic safety glasses to prevent anything from getting into your eyes, to a large sander, capable of making quick work on getting sanding out of the way, you will be investing quite a bit on the supplies themselves, much more than you would on the paint itself.
If outright purchasing things like an orbital electrical sander is outside your price bracket for the time being, you may want to hire someone to do it for you, not to take away from a hard day’s work, of course, but investment in a sander today prevents the need to do so later!
Below, we’ll go over a brief breakdown of everything you can expect to use when painting your canoe, as well as a few extras to consider, as safety is first, after all.
- Acetone
- Tack cloth
- Utility knife
- Earplugs
- Paint thinner
- Pressure washer
- Cleaning cloth
- Gelcoat repair kit
- Paint roller
- Paint mixing stick
- Paint tray
- Dust mask
- Sponge
- Safety glasses
- Masking tape
It’s worth noting this is not the full, exhaustive list that you can expect to use in every canoe paint, as different materials will have different needs. You’ll need to flex accordingly. If you are unsure of your specific needs for the job, you must seek additional information from a video tutorial or even a professional painter.
Step 2: Clean the Canoe Thoroughly
If you are opting to take the job on yourself, one of the first things you’ll need to do is clean the entirety of your canoe from top to bottom. This means anything you had stored in it, to the underside of the boat, is free of anything clinging to it that might yield a sloppy paint job or uneven surface.
In most situations you’ll want to go about doing this with a power washer to make the job faster, but also guarantee that you will blast off anything that isn’t nailed to the boat itself, on the topic of prep work, you are going to want to ensure you’ve got at least two good days of weather ahead of you for the boat to dry from the wash, and paint.
Step 3: Repair Any Damaged Parts
Before even popping the lid on your paint can, and preferably after the wash, take a moment to carefully inspect your canoe, searching for any dents, dings, scratches, cracks, or other blemishes that could lead to an uneven paint job, or more severe things, potentially having the canoe itself not be water worthy.
Failure to do so may lead to your paint job being damaged when you need to do the job afterward, so it’s really about killing two birds with one stone rather than getting your painting knocked out early.
Step 4: Sand the Canoe Down
Sanding the canoe down helps even out the surface area. It allows the paint to adhere properly. No catches, bumps, or raised areas to speak of will make your paint job look pristine, and, more importantly, can help slight bumps whilst you are using it become bigger cracks and scrapes later if something were to catch on the raised surface.
The sanding can take quite a bit of time if you aren’t experienced, and will obviously make a bit of a mess, so having additional cleaning tools and proper PPE will keep you work-ready and safe. Having a shop vac handy wouldn’t be a bad idea either for the clean-up afterward.
Step 5: Wash the Canoe to Eliminate the Dust and Dirt
While we noted this above, you may want to view this as doubling down after sanding, rather than leaning toward the initial power washing. Here, you are looking to make sure everything is ready for the paint itself, no dirt, grime, build-up, or anything of the like that could make your paint adhere incorrectly, or appear uneven.
Step 6: Dry the Canoe Thoroughly
As you might expect, every good wash needs an equally balanced drying. You can definitely speed this up by manually drying it, but for the best results, rely on Mother Nature to do its thing and let the sun dry it. More time-consuming, sure, but the finished result is worth it.
Step 7: Apply the Primer
Only necessary for aluminum canoes, you’ll want to take a bit to sketch the outline of your canoe with masking tape to prevent anything that shouldn’t be exposed to the primer from getting ruined, then apply it accordingly.
If you are applying primer, you can expect the whole process to take a little longer, as you’ll need a 12-hour drying window before you apply your first coat. After that, you are off to the races.
Step 8: Paint the Canoe
Technique goes a long way here, but you can also take some checks to give yourself some wiggle room in the painting process. For one, you need to start with a paint that suits your canoe; a wood-based paint probably won’t adhere well to an aluminum canoe, and vice versa.
Before you paint, you’ll want to mix your paint with a thinner to help give it an even consistency and help it apply more evenly, you are looking at a ratio of 1 part thinner to 9 parts paint for the optimal mix, after doing so, apply your first coat to the boat’s interior (assuming you are painting it), slowing your process down and taking careful roller or brush strokes.
While applying the paint, take your time and inspect the coat as it’s applied, constantly checking for build-up or worse, bubbles. If you see any, use your paintbrush to smooth them away and continue painting, making sure to cover everything evenly and keeping a decent pace.
Step 9: Allow the Canoe to Dry
Once you are done with the first coat, you can kick your feet up and relax, as the paint will need at least 10 hours to dry. Truthfully, giving it a full day will let the paint settle better and help you achieve a more professional finish. Rinse and repeat for the exterior.
Step 10: Sand the Canoe Down (Again)
Ah, yes, our old friend, sanding, now back with a vengeance, threatening a mediocre paint job if we don’t humor his tiresome visage. Thankfully enough, you should be rested and ready by the time the paint has dried for a little more work.
It is imperative to sand the entire painted surface to ensure your second coat of paint sticks evenly. It gives the boat a more finished look at the end of the day, but again, this will be time-consuming, especially if you don’t have access to an electric sander.
Step 11: Wipe Off Any Dust or Debris
As mentioned in the list of items you may need for the job, take your tack cloth and wipe away anything resting on the surface of the canoe; this can include dust, bugs, or random debris that settles on it. At the same time, you were gone, taking time to carefully inspect every inch of the canoe before moving forward; anything you miss will be stuck under a layer of paint afterward.
Step 12: Apply a Second Coat
Assuming you didn’t struggle too much whilst applying the first coat, the second one should be a breeze in comparison, especially for those of you using a sprayer to get the job done. Just be mindful of your splatter and drips to prevent making too much of a mess.
While it should be widely known, painting your canoe like this should be done on an elevated platform, allowing you easy access to some of the canoe’s most difficult-to-reach areas. Utilize this time to hit everything from the gunwales to the end caps, and everything that might have you careening to reach while you can.
Step 13: Add a Clear Coat
While this isn’t necessary for anything aside from a fiberglass canoe, you can opt to use a paintbrush, or a clean roller if you have one spare (running to the store to get one counts too), and add a clear coat to both the interior and exterior of the boat, letting you have an extra glossy finish, leaving optimal time to dry according to the clear coat you use.
Step 14: Ensure Your Canoe Is Dry for 48 Hours
The grand waiting game: after putting forth all that elbow grease, you can look forward to admiring your work over the next two days as the paint dries and settles into where it’ll stay for the foreseeable future.
While letting it dry, ensure your chosen location is free from bugs that may try to decorate your freshly coated surfaces, or from direct exposure to the elements, which might cause your colors to run.
What Should You Look for in Boat Paint?
When searching for a boat paint, you’ll want to be sure the paint itself will adhere to the boat you have, as the types do matter (Metals, Wood, fiberglass), and check to see if the method in which they are applied matches what you have to do so, and what additional protections the paints offer, assuming you’d want them.
1. Compatibility
It should go without saying, but to beat a dead horse, it isn’t wise to attempt to paint a fiberglass canoes with a paint made specifically for aluminum ones, and while the logic might not be apparent initially, it’s simply boils down to ensuring the paint adheres properly to to surface of the canoe, and more importantly, doesn’t damage it due to the specific chemical makeup of the paint.
Failure to check the type of paint you are getting can lead to a very costly, time-consuming mistake, so you’ll want to do your research before swiping your card.
2. UV Resistance
In certain circles, UV resistance in paint is considered a laughingstock or a marketing scheme. Still, it bears significant relevance to your choice in paint because direct sun exposure can cause certain paint brands and blends without it to chip and crack over time, slowly ruining your paint job, and perhaps your canoe by association.
3. Ease of Application
You might have noticed throughout the article certain phrases were used like “quick setting”, “Fast drying”, or “Smooth settling”; these kinds of qualities offered by the paints will let you have a few failsafes if you were hypothetically cutting corners (not to assume).
As a good example, certain paint consistencies are prone to automatically settling evenly and preventing build-up on surfaces, meaning you can move a little quicker without worrying too much about an uneven finish, but this should not be taken as a reason to try and rush; a sloppy job will lead to an ugly result.
4. Durability
In most situations, your paint will serve as an active barrier and first line of defense against just about anything it is exposed to, from the elements themselves to minor scrapes that can happen while you are using your canoe. The thickness of the paint and other qualities can bolster your canoe’s durability.
Alternatively, cheaper paints may not have as much resilience to these same issues, meaning you can expect to see chips and cracks appear far faster than you’d like, which ultimately means you’ll be needing to paint your boat again soon, so a little investment now can go a long way.
5. Moisture Resistance
It may sound silly for a canoe or any seafaring vessel’s paint to need “moisture resistance”, but there is a perfectly sound reason why you’d want this quality in your paint, and that is primarily due to how water (and other substances) can slowly erode your paint over time.
If a paint has greater moisture resistance, this process will happen more slowly, as the paint itself may contain compounds that help it remain adhered to your canoe for a longer period before this gradual breakdown occurs.
What Types of Topside Paint Are There?
1. Alkyd Enamel
Alkyd Enamel is an incredibly resilient and durable solvent-based paint composed of synthetic alkyd oil and resins that bolster your canoe’s ability to take a beating and keep on floating.
Its major claim to fame is that of a paint that is perfect for areas where your boat will be prone to getting scratched and dragging on things that may be in the water beneath you, like reeds and other plant material, as well as the occasional stick or two.
2. One-Part Polyurethane
This paint is perfect for DIY painters and novices alike because it delivers a very glossy finish that also enhances your canoe’s resistance to minor abrasions and scratches. It’s also fantastic at combating UV exposure.
3. Two-Part Polyurethane
As you might guess, two-part means there is a bit of an additive in this formula. The result is a paint that hardens as it dries, maintaining the same glossy finish as One-Part but providing an additional buffer layer of protection directly on your canoe. Unlike the previous version, this type of paint is typically used by professionals, including on heavy industrial equipment and marine vessels, demonstrating its excellence.
What Types of Bottom Paint Are There?
1. Hard Bottom Paint
The ideal choice for high-speed boats or those that will spend a lot of time idling in the water, hard-bottom paint will stand the test of time and prevent marine life from growing on your boat’s hull, which could be anything from barnacles to algae buildup.
2. Ablative Antifouling Paint
When attempting to understand Ablative Antifouling paint, it’s better to think of it as a protective layer that slowly comes off, constantly removing itself layer by layer and preventing anything in the water from building up on its surface.
Conclusion
The best paints for a canoe should be affordable, easy to apply, and provide some level of protection against scratches and direct impacts, as well as UV rays and build-up that can eventually damage your vessel in the long run.