

Starting from our first clumsy steps in the world, we’ve all been building muscle, pushing limits, and inevitably falling so we can get up stronger than before. While some of us are more prone to recovering seemingly overnight, most of us have to take time to nurse our wounds, or better take preventative measures to ensure these aches and pains don’t come back again.
It is essential to learn how to recover from hiking soreness, especially after a long day spent taking in endless beauty! This is especially true if you have accidentally gone on a hike that was a little harder than what you are used to. Thankfully, there are several things you can do, such as an ice bath, resting, taking magnesium supplements, and more.
In this article, we will discuss how to recover from hiking soreness and the different methods you can use to prevent injury on a hike. All the information given to you today can apply to your life, especially if you go hiking often or are just starting. Without further ado, let us continue reading along.
How Do You Recover After a Hard Hike?
The recovery process in itself takes many forms, especially when you take into consideration what is actually hurting, and better, the most effective way to get that pain to stop. In worst cases, you may notice the difference between general soreness and an injury that might need to be treated by a professional.
In most situations, you’ll need to give yourself a nice ice bath and make sure you don’t get home and keep pushing your body to its limits. It is also essential to wear clothing that supports healing and comfort, whilst boosting your recovery speed by using different ointments, oils, and even vitamins to ensure your body isn’t left wanting in any regard.
Before pushing forward into each notable recovery method, it’s imperative to note that excessive bruising, severe discoloration of the skin, and almost jolting pain, perhaps accompanied by a scratching, sandpaper-esque feeling, can indicate a fracture or broken bone. In this case, there is very little you can do to remedy the situation at home, so you’d be wise to seek a doctor out.
Broken bones aren’t the only issue you need to be mindful of. There is a difference between soreness and a torn muscle, and the litany of other potential injuries that can befall you while you are hiking the great outdoors.
1. Take an Ice Bath
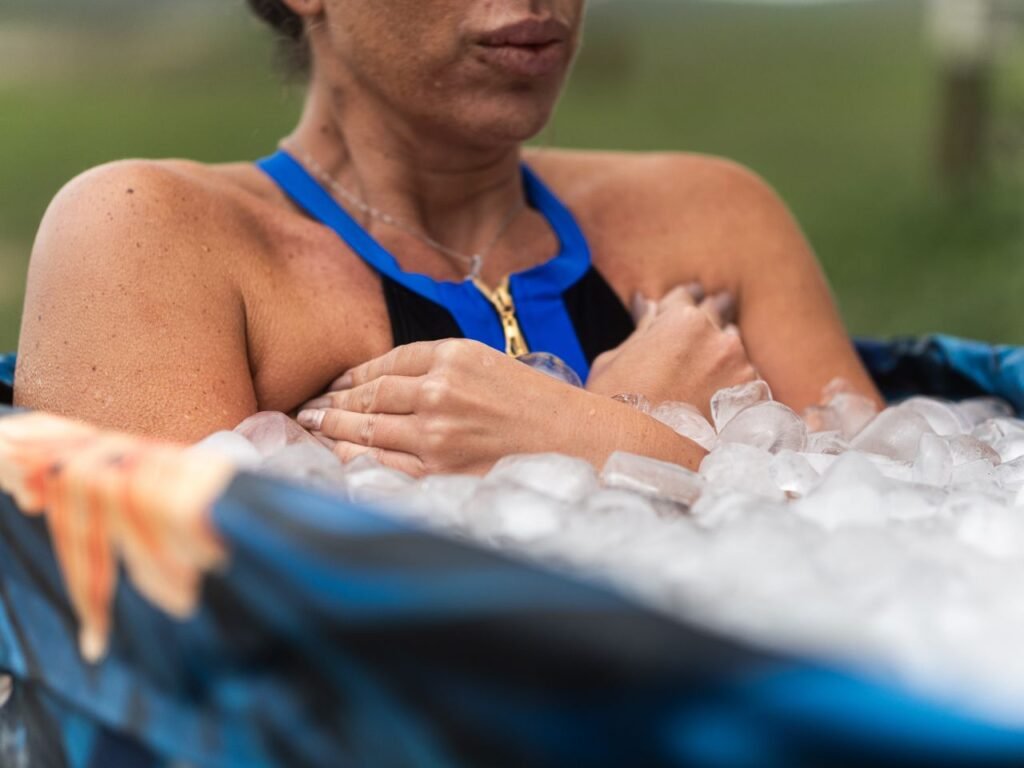
Plunging yourself into a nice pool of ice can be a shocking experience at first, but the benefits are miraculous. They can give you some much-needed relief from the agony that a rigorous hike can put on you, but you may be left wondering how an ice bath even helps your body recover in the first place.
A fantastic question, one that most people will understand at a base level, but you apply it to a larger scale. In much the same way, an ice pack is suitable for a normal bruise, for people who’ve gotten into fights, or for treating a black eye, holding up an ice pack or frozen veggies to the area to help reduce the pain and swelling—an ice bath works in precisely the same way.
The ice itself not only helps lower your body’s temperature but also constricts blood vessels, reducing overall inflammation in the area and alleviating swelling in your joints and muscles. It effectively fights pain and numbs it, too.

2. Rest Well
“Nothing beats a good night’s rest” is truly timeless advice that remains relevant for almost any injury, and for good reason. When your body can rest (or if you are capable of finding time in your schedule to rest), the strain of moving, lifting, juggling your own balance, and any other physical tolls your body needs to endure gets a fleeting break, allowing you to focus solely on the healing process instead of being distracted by multitasking.
Despite sounding rather basic, there are myriad ways you can rest. More importantly, it emphasizes the specific injuries that will help you expedite healing. For instance, if your ankles and heels are incredibly sore, you should not only lie down but also elevate the sore leg.
The reason lies in the same principle: reducing swelling and limiting the pain you need to endure. Because the injured area receives more blood flow, it will hurt less (and may even get slightly colder than usual). The proper height to elevate the injury is slightly above your heart to maximize healing potency.
3. Wear Compression Socks & Other Clothing
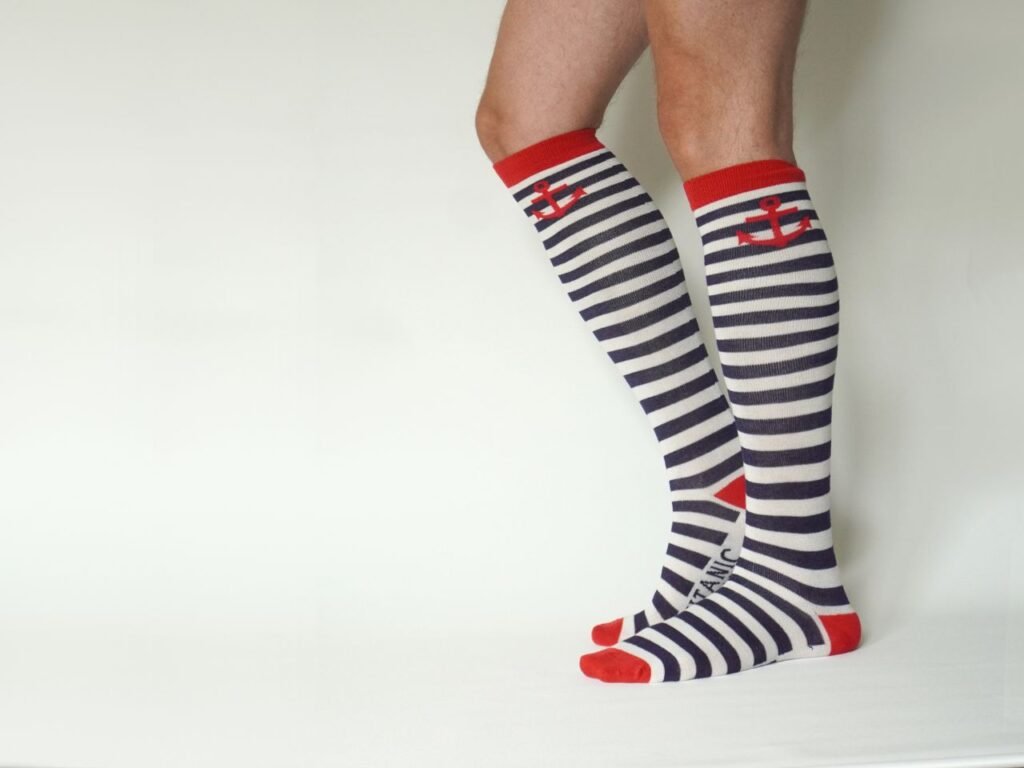
Looking good and feeling good have always been synonymous. Still, when it comes to hiking injuries, it couldn’t be any truer. As far as compression socks are concerned, they help guide blood flow towards your heart, which significantly speeds up the healing process, while preventing blood from pooling in your legs and combating swelling.
Despite how effective compression socks are, you wouldn’t want to try to put them on your hands or other problematic areas. So you’ll need to see relief in different forms. Still, this kind of technology and treatment is something you can replicate pretty easily by using other compression clothing customized for the region you need. Gaining these benefits anywhere is relatively easy, assuming you can afford them, of course.
Before investing, however, you’ll want to be mindful of the materials the clothing is made of, as some people are allergic to synthetic or natural fibers. Even more to the point, other materials like cotto can prove counterintuitive to the healing process, as they can retain excess moisture, making a funk dungeon instead of a healing estuary.

4. Take Magnesium Oil & Supplements
Taking supplements might not seem like the best way to treat an injury on a surface level, but what they do to your skin is pretty miraculous. Magnesium oil or lotion, for instance, works as an anti-inflammatory, reducing swelling, and other supplements can be taken to replenish vitamins you’ve lost, or make up for ones you aren’t getting.
While some of these supplements might not taste the best, it isn’t the taste you are taking them for. You can, however, weave them into creative foods and smoothies, or even eat foods that naturally contain large amounts of them, such as salmon, spinach, and blueberries.
Meeting your nutritional needs doesn’t necessarily mean taking an assortment of capsules, vitamins, pills, and other supplements. Still, it does go directly into the same level of prep work mentioned earlier, so actively meal-prepping, shopping, and taking time from your busy day to make healthier choices will definitely be one of the sacrifices to bolster your recovery speed.
5. Stretch
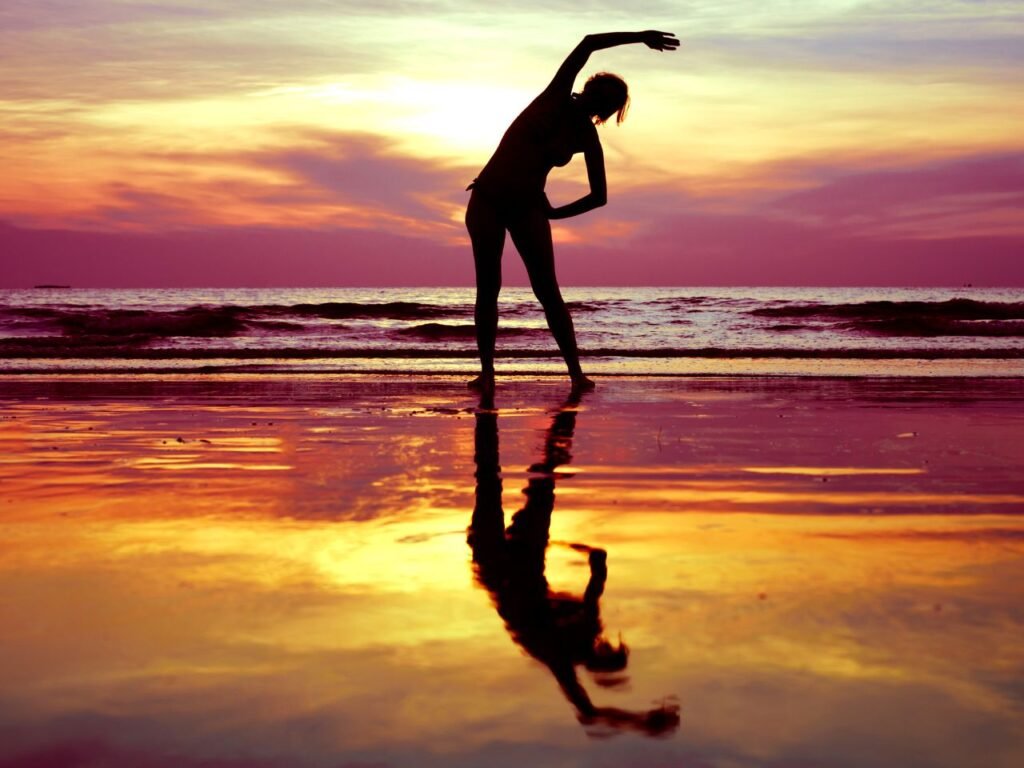
Stretching might initially seem like an obvious answer to some, but to others, it can seem pointless. Only a fool would dismiss the benefits of actively engaging all the muscles you intend to use before a good hike, as well as while you are trying to recover from one.
On the front end, stretching before hiking gets your muscles limber and ready to be pushed to their limits and utilized actively. With blood coursing through them, you’ll be much less likely to pull something, and the extra heat from engaging them will allow you to work hard for longer because the areas you’ve targeted will be getting more blood flow and more oxygen by association.
After incurring an injury, however, stretching still serves an essential purpose, as it will again increase blood flow to the problem area. Still, more importantly, you’ll keep it from becoming stiff, allow fresh blood to enter the area more quickly, and help it heal more quickly. Still, you’ll need to be mindful of the exercises you choose, as the last thing you want to do is worsen the injury.
Low-impact stretches and exercises that don’t put a lot of stress on the affected area will work best, and treating it with ice packs, compresses, and the other options mentioned above will have you back to your prime in no time!
6. Drink Plenty of Water
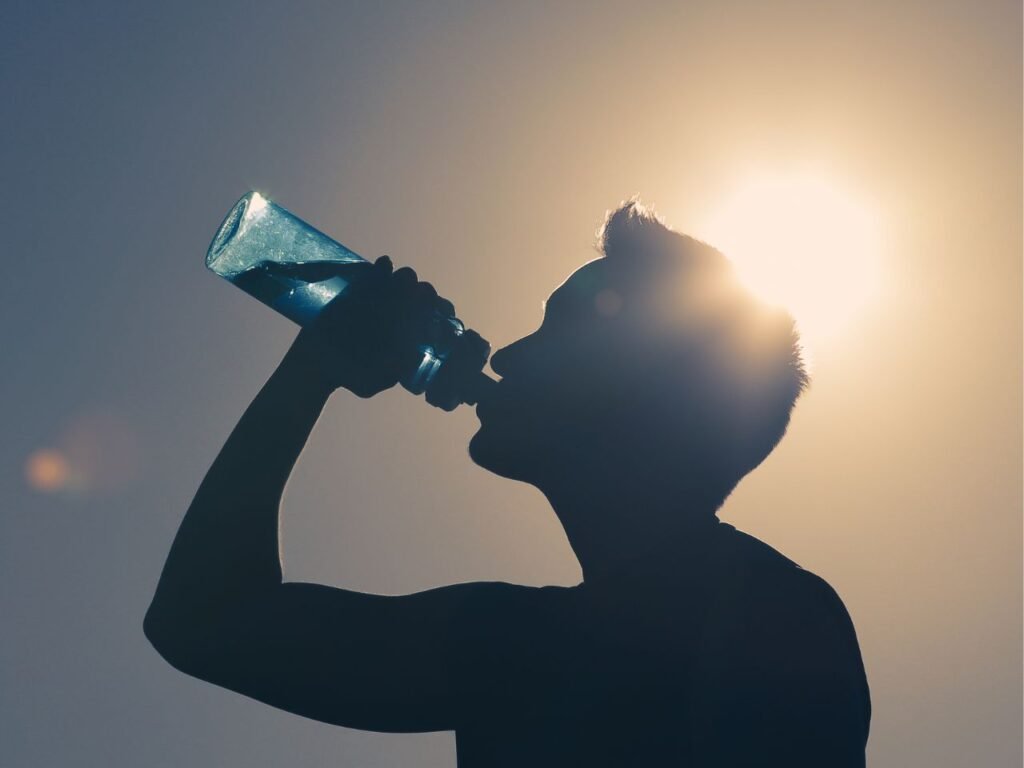
Hydration isn’t a joking matter in any situation, but the moment you begin putting a strain on your body, engaging your muscles, or better yet, sweating at all, you immediately start losing water from your body, which you need to replenish equally to remain healthy. At home, it seems pretty obvious to get a glass of water and stay hydrated. Still, it’s easy to get caught up in the beauty of nature and forget to take care of yourself.
Learning to take small sips of water on the go, making it an instinctive habit you do while moving or resting, is the best way to prevent anything bad from happening to you. Still, other factors will increase the amount of water you’ll need to drink to keep that balance.
One such instance is heat, the hotter it is, the more you’ll sweat, and if you sweat more you’re going to need more water to remain on your toes obviously (both literally and figuratively), as without water to continually regulate your body temperature by sweating, you can find yourself in for a world of pain in the best case scenario, or in life threatening waters so to speak without it.
Several hazardous conditions can creep up on you if you forget to drink enough water. At the same time, hiking, everything from dehydration to straight up heat exhaustion can befall you, leaving you more prone to passing out, and unable to seek appropriate aid for yourself, or collapsing in the brutal sun, so take some time, and make sure your water canteens/bottles/sleeves, or whatever you choose are full, and easily accessible to avoid any issues.
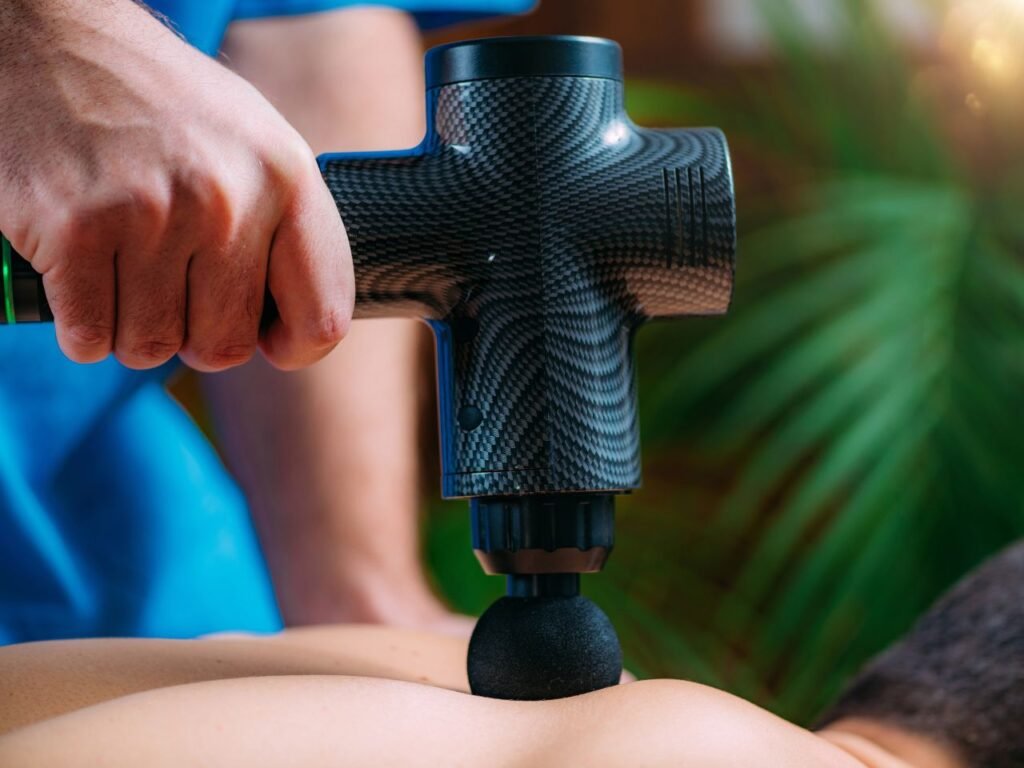
7. Use a Therapy Gun
A therapy gun, or massage gun, serves the same purpose: using various heads and nozzles to target specific areas of your body, stimulate them, help relieve tight muscles, increase blood flow, and, thankfully, relieve pain.
The two biggest concerns about using a therapy gun are that you take some time to brush up on the right way to use one to avoid hitting bone or agitating an injured area. Secondly, you need to find one that not only fits your budget but also comes with all the attachments you want. Most people are okay with the rounded one, but those who take their recovery seriously may want more. Do some diligent shopping and find one that fits your needs perfectly.
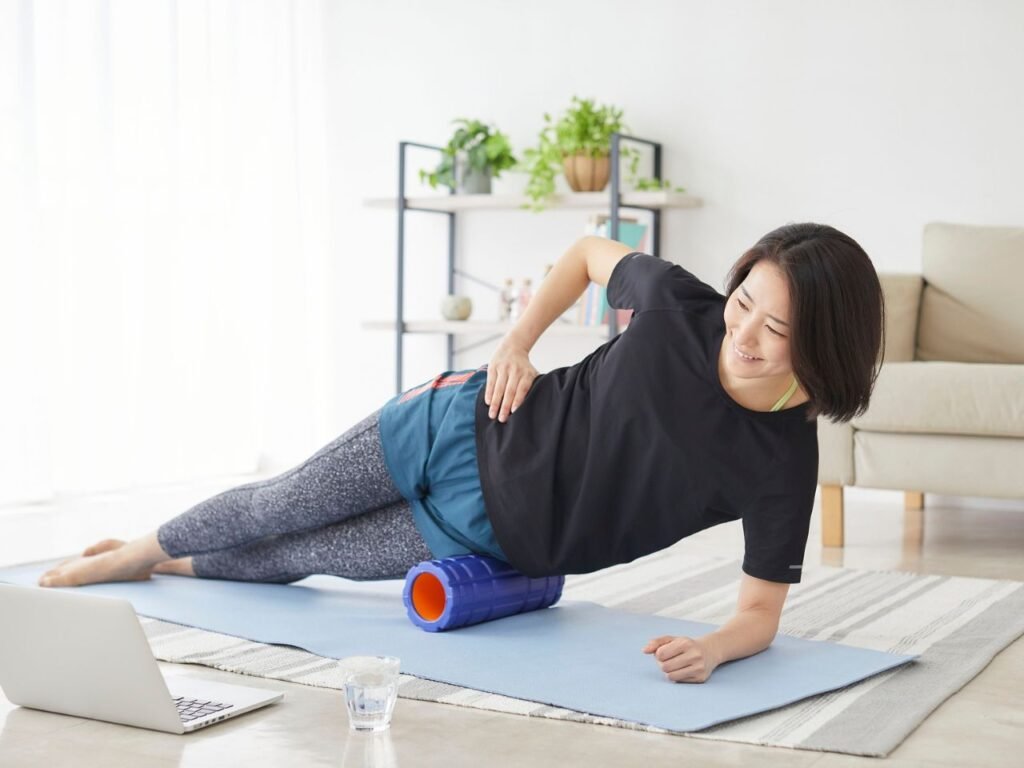
8. Consider a Foam Roller for Tight Calves & Quads
A foam roller does the same job as a therapy gun: stimulating muscles, generating relief, alleviating pressure, and improving circulation in problematic areas. Still, the biggest difference between them is that a foam roller doesn’t need to be plugged in or maintained. It can be used and stashed away, providing an easy form of relief. For people with more sensitive skin, it could be a better alternative for those areas.
Even more impressively, a foam roller can be utilized after a long hike, or in preparation for doing one, because it can activate your muscles just like stretching, or better yet, used in tandem with a good stretch to ensure everything is as awake and stimulated as it can be before being thrust into the heat of battle.

9. Take an Epsom Salt Bath
If you thought taking an ice bath was the only way to help ease the aches and pains of a jaunt outside in the great outdoors. You’d be wrong, because a nice hot Epsom salt bath can not only relax your body and mind, but it can help reduce swelling and inflammation thanks to the magnesium the salt itself has, and even more impressively, the sulfur that accompanies it also yields the same benefits.
Direct benefits: besides taking a hot bath, it can take you away from the struggles of the day and allow you, albeit briefly, to forget about the aches and pains of the hike and potentially even other issues that might be weighing heavily upon you. The Epsom Salt bath is one of the most relaxing but important recovery methods listed here.

10. Eat a Healthy Meal
Assuming for a moment that drinking water replenishes the vital life essence that is water, then eating healthy is the difference between giving your body what it needs to build you into a stronger, better version of yourself, or making due with what you’ve got, which could mean eating junk food, agitating your stomach, and not giving your body the nutritional balance it needs to rebuild those muscles stronger than they were before.
While eating healthy in most cases does mean you’ll need to be just as active in your meal prep as you were while you were hiking, the benefits resound throughout your body in just the same way that the physical activity parallels direct growth in your muscles, short changing yourself isn’t the best, especially if you put forth the effort to be active and healthy in the first place.
If meal prepping isn’t your thing, you can find time in your schedule to do it once a week, freezing entire meal portions and making the whole cooking process almost automatic with just a little hard work and diligence. So shop smart and eat smart!
Different Methods to Prevent Yourself From Getting Hurt on a Hike
As noted above, preventative measures matter greatly, and the more time you invest in them, the less likely you are to get hurt, or better, the less severe the injury itself will be, as you’ll be equipped to either handle it on sight, or take care of it when you get home, assuming of course the injury isn’t so severe you need to see a doctor about it of course.
1. Take Frequent Breaks & Rest
Pushing your own limits can be incredibly invigorating and help you navigate life and any obstacle with a sense of purpose and confidence, but there is such a thing as going too far or doing too much.
Hitting these thresholds can be devastating on your body if you aren’t careful, so breaks and resting are paramount if you want to prevent serious injury, or leaving yourself without clarity due to how tired you’ve become, making accidents or poor choices much more likely to occur.
A break doesn’t necessarily mean you have to come to a dead stop; in fact, most athletes prefer to take their breaks standing up, slowly pacing in a small area, or maintaining a trim level of activity. At the same time, they regain their composure, partially so they retain the increased heart rate, and partially because coming to a complete stop and sitting down while your heart is beating hard isn’t exactly good for you.
Reeling things back in, however, if you aren’t hiking competitively or pushing boundaries, the momentary break will allow you to assess your overall well-being, take note of how you are feeling, and identify your needs.
In these moments you’ll want to check if you are feeling any ambient pain, perhaps some of your gear is resting on you uncomfortably, stomach growling, feeling slightly dizzy, off balance, there are a vast amount of things to do a quick check of, but giving yourself just a moment to see if you are okay will let you pace yourself properly, and more importantly, safely.
2. Consider Ending Your Day Early
Keeping safety in mind, if you are out on the trail and notice something is off with your behaviour or how you are conducting yourself, or if you see gradual pain beginning to ramp up, you may want to consider calling the hike early to protect yourself from overdoing it and injuring yourself.
Alternatively, calling your day early can also be done after a hike, noting that your pain is much more severe than you’d like to let on. This could be at your job or simply running errands after a strenuous hike. Know your limits and let yourself heal; there is no point in further aggravating an injury without good reason.
3. Choose the Right Footwear
Throughout history, it’s been documented that you should always wear the proper footwear for the job. If you are on a construction site, you don’t wear sneakers, if you are in a business office, you probably won’t want to wear sandals, and if you are hiking, you’ll want footwear that protects your feet.
The right pair of shoes or boots should not only give you plenty of grip for the uneven surfaces you’ll be walking on, but they should also be able to prevent cuts, scrapes, and bruising if any rocks or tree limbs fall on your toes. Failure to do so could give you some truly nasty cuts that can get infected, or broken toes and bones, so a small investment now can save you a lot of time and money later.
Where you intend on hiking has a massive impact on the kind of shoe you should be wearing as well, warm weather typically means you’ll want a lighter, more durable shoe, mainly if the route you are taking is well traveled, but if you intend on going for a hike on the side of a mountain, having shoes that provide warmth, and prevent water from getting in will prove invaluable, so shop accordingly.
Common Injuries During Hiking & Ways to Prevent Them
The most common injuries that occur on a hike are either accidental or preventable. On the one hand, accidents happen when you aren’t paying attention to where you are walking; you trip, and any number of mishaps can come of that.
On the other side of the coin, mishandling your gear, not wearing the appropriate equipment, or moving in a strange way when you don’t need to could cause you to overextend, put too much pressure on an area, or involuntarily open the door to yet another painful incident.
1. Shoulder Injuries
If you’ve never experienced it, saying you got a shoulder injury hiking might not even make sense from the outside looking in. Still, it’s not just a possibility; overloading your kit, constantly putting strain on your shoulder, or taking a nasty fall can all lead to you getting a shoulder injury.
Should this happen, you’ll want to take some time to reorganize how you are moving for the duration of your hike, or rely on a friend, family member, or hiking partner to help get the rest of your kit to your car to prevent worsening the injury further, and seek professional aid should you believe anything is broken.
Preventing this from happening can be as easy as doing some arm circles, shoulder rolls, and even crossover arm stretches to warm up those muscles and get them acclimated to the stress they’ll endure over time. This, coupled with micromanaging your pack’s weight and maybe using a trekking pole, will be pivotal in preventing injuries.
2. Wrist Injuries
Unfortunately enough, hurting your wrist and ankle are some of the most common types of injuries that will happen while hiking, with wrists taking a slight lead due to how likely you are to throw your hands in front of you to catch yourself when falling, only to have the entire weight of your body and backpack come crashing down on them.
Suppose you are looking to mitigate your chances of hurting your wrists. In that case, your best options are to wear gloves if possible and weather permits, again make use of that trust trekking pole to help give you some balance when navigating rugged terrain, and finally learning how to roll through a fall, which sounds silly, but is pivotal in preventing some of the most basic injuries you can sustain, especially when “catching” yourself is the main culprit.
Wrist injuries can be tough to recover from as they will change your daily life if the injuries are severe enough, everything from opening a door to carrying a glass can become incredibly painful, or not possible at all if the injury is bad enough, severe swelling, discoloration, could all be signs of a broken bone, as well as apparent bending in ways that shouldn’t usually be possible accompanied with the inability to move it back into place.
3. Ankle Sprains
While hurting your wrist is horrible from a functionality perspective, breaking your ankle will outright destroy your mobility in some cases, making you either incapable of moving without using a wheelchair in the worst of scenarios, or being crutch-bound until the ankle is good enough to support weight again.
Spraining your ankle typically involves falling or slipping, and to that end we are looking at an issue of you losing your footing, or balance all together, this could be due to several different factors, but ruling out using the right shoes for additional grip on surfaces, a trekking pole for increased stability, and maintaining a healthy pace will significantly reduce your chances of getting an ankle sprain.
If this happens to you, one of the best options you have on the trail is to utilize your trekking pole as a makeshift crutch, or a local branch (that isn’t waterlogged, rotten, or too flimsy to support you) to get you back to your vehicle, or civilization to get proper help.
Depending on how remote you are, you may want to consider ditching your backpack to make your journey back easier and more manageable, only bringing essentials like your phone, some small snacks, keys, and things like that, stashing the pack in a place that is hard to see, but easy to describe, using your phone to take a picture of the location to help you, or someone else identify it for retrieval later.
4. Twisted or Sprained Fingers
While not nearly as impactful as other injuries, twisting or spraining your fingers can be incredibly painful and make even the most mundane of tasks annoying to complete. Thankfully, you can wear gloves to reduce your risk, but again, you can’t entirely prevent it.
Everything from a nasty fall to simply smacking your hand against something clumsily can damage your fingers, so proper hand placement while walking can help keep them safe.
One of the most common ways to twist or overextend your fingers is to use them to climb over something without enough grip, just sliding off the edge, or to place too much weight on them too early, causing them to collapse. Either way, be cautious in how you overcome obstacles, and you can limit your odds of going through this.
5. Heat Exhaustion or Heat Stroke
By far the most dangerous malady that can befall you while hiking short of falling directly onto a stick and it getting lodged into you, or something else similarly as bizarre, would be heat stroke, or heat exhaustion, both happening from a combination of poor hydration, and a lack of respect for your body’s personal needs as opposed to nature’s relentless assault.
Aside from keeping yourself hydrated, the clothing you wear plays a significant role in how much heat your body loses and how much you retain. Breathable fabrics and sporting apparel are usually designed to reduce your overall body heat and dissipate it, assuming you seek shade regularly and take breaks.
Common sense is seemingly getting rarer by the day, so dodge this bullet entirely by looking up the local weather reports for your area before going on a hike, or any activity in general, to be knowledgeable on what to expect, and more importantly, how you should dress.
Showing up in shorts in winter is just as catastrophic for your body as being completely covered in fabric, weighed down by gear, and drenched in sweat while hiking in 100-degree-plus weather. It’s okay to reschedule for safety.
Final Words
Deliberate planning, careful consideration, and mindful navigation are all it takes to make a hiking journey successful, safe, and enjoyable for most people. Make sure you have the right gear, sufficient water, and are limbered up before challenging nature, and you should return home tired, but ultimately unharmed!`